 How to use an imatge as a texture and be sure it is sized properly?
Català - Castellano - Deutsch
Many times we just used plain paint materials in SketchUp, but other times we need to use images as textures. Applying images as materials is a simple process, but there are certain things that are important to know to apply them the way we want to.
If we simply want to see the image on a flat surface in SketchUp, we can skip using the image as a material and simply import the image as such. For that, simply go to File --> Import and select the image you want to place. You will be able to place it as an object.
If we want to apply the image onto a curved surface, the thing becomes a bit more tricky. To do this, we have to turn the image into a material. Follow these steps to do it properly.
- File --> Import the image.
- Resize it to be the right size you want it to be projected
- Right click on it and explode it
- Click on the Sample Paint tool in the materials browser and click on the exploded image
- Enter the group or component containing the curved surface and apply the material to it.
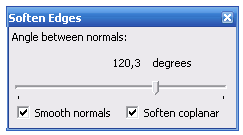
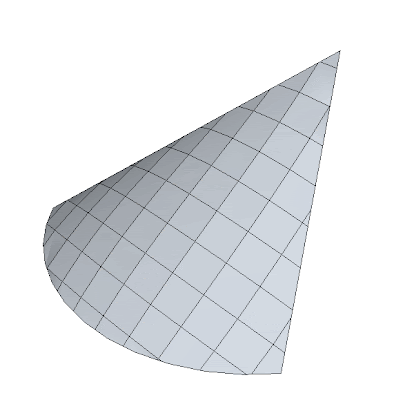
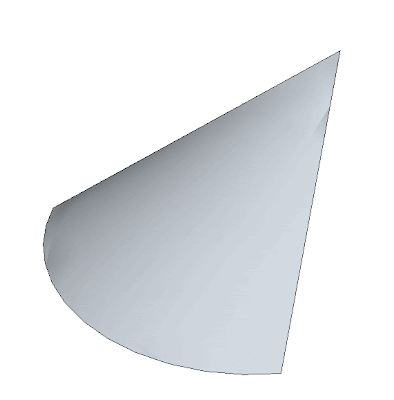
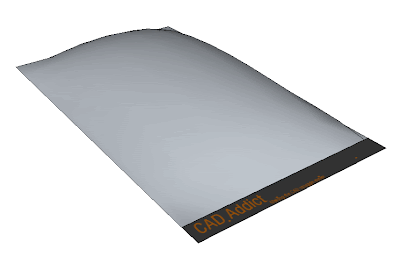
Let see this process graphically. Point 1 and 2. After importing the image, we place it and size it to the position we want it projected. IN this case, I am trying to paint the below curved surface created with Soap Skin Bubble and the Soften Edges Tool with the CAD-Addict website header. I align the image to fit exactly with the surface width. See below.
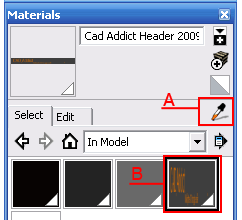
After the image is placed properly, we need to explode it. Right click on it and select Explode. This will add the image as a material with the right size and position. We can select the material using the Sample Tool (A in the picture below) or simply browse the "in Model" materials in the material browser and find the thumbnail that corresponds to the new material created from the image (B in the picture below).
After this, we simply enter the component select the surface and apply the material. The result should be something like this.
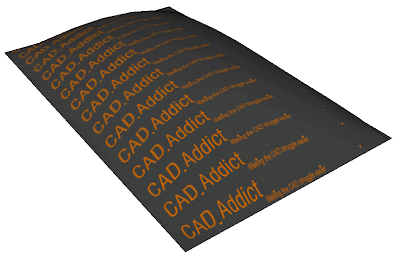
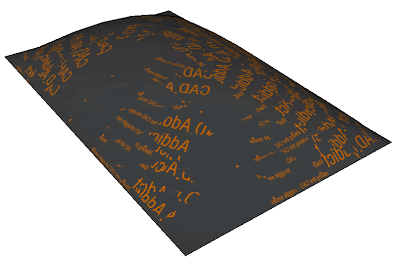
It is very important that we enter the component or group and apply the material directly to the curved surface, if instead of that we apply the material to the component (being outside of it), SkechUp will not recognized the softened surface as one and will apply the image to each and every face of the object, making it look like this.
Show me more...


